Mastering CapCut PC: Essential Editing Techniques for Beginners
CapCut has rapidly become one of the most popular mobile video editing apps due to its intuitive interface and powerful features. CapCut for PC or desktop offers an easier way to edit your videos. Whether you're a beginner or a seasoned creator, CapCut offers everything you need to create engaging, polished videos for platforms like TikTok, Instagram, YouTube, and more. If you're new to CapCut, this guide will walk you through the essential editing techniques that will elevate your content and set you on the path to mastering the app.
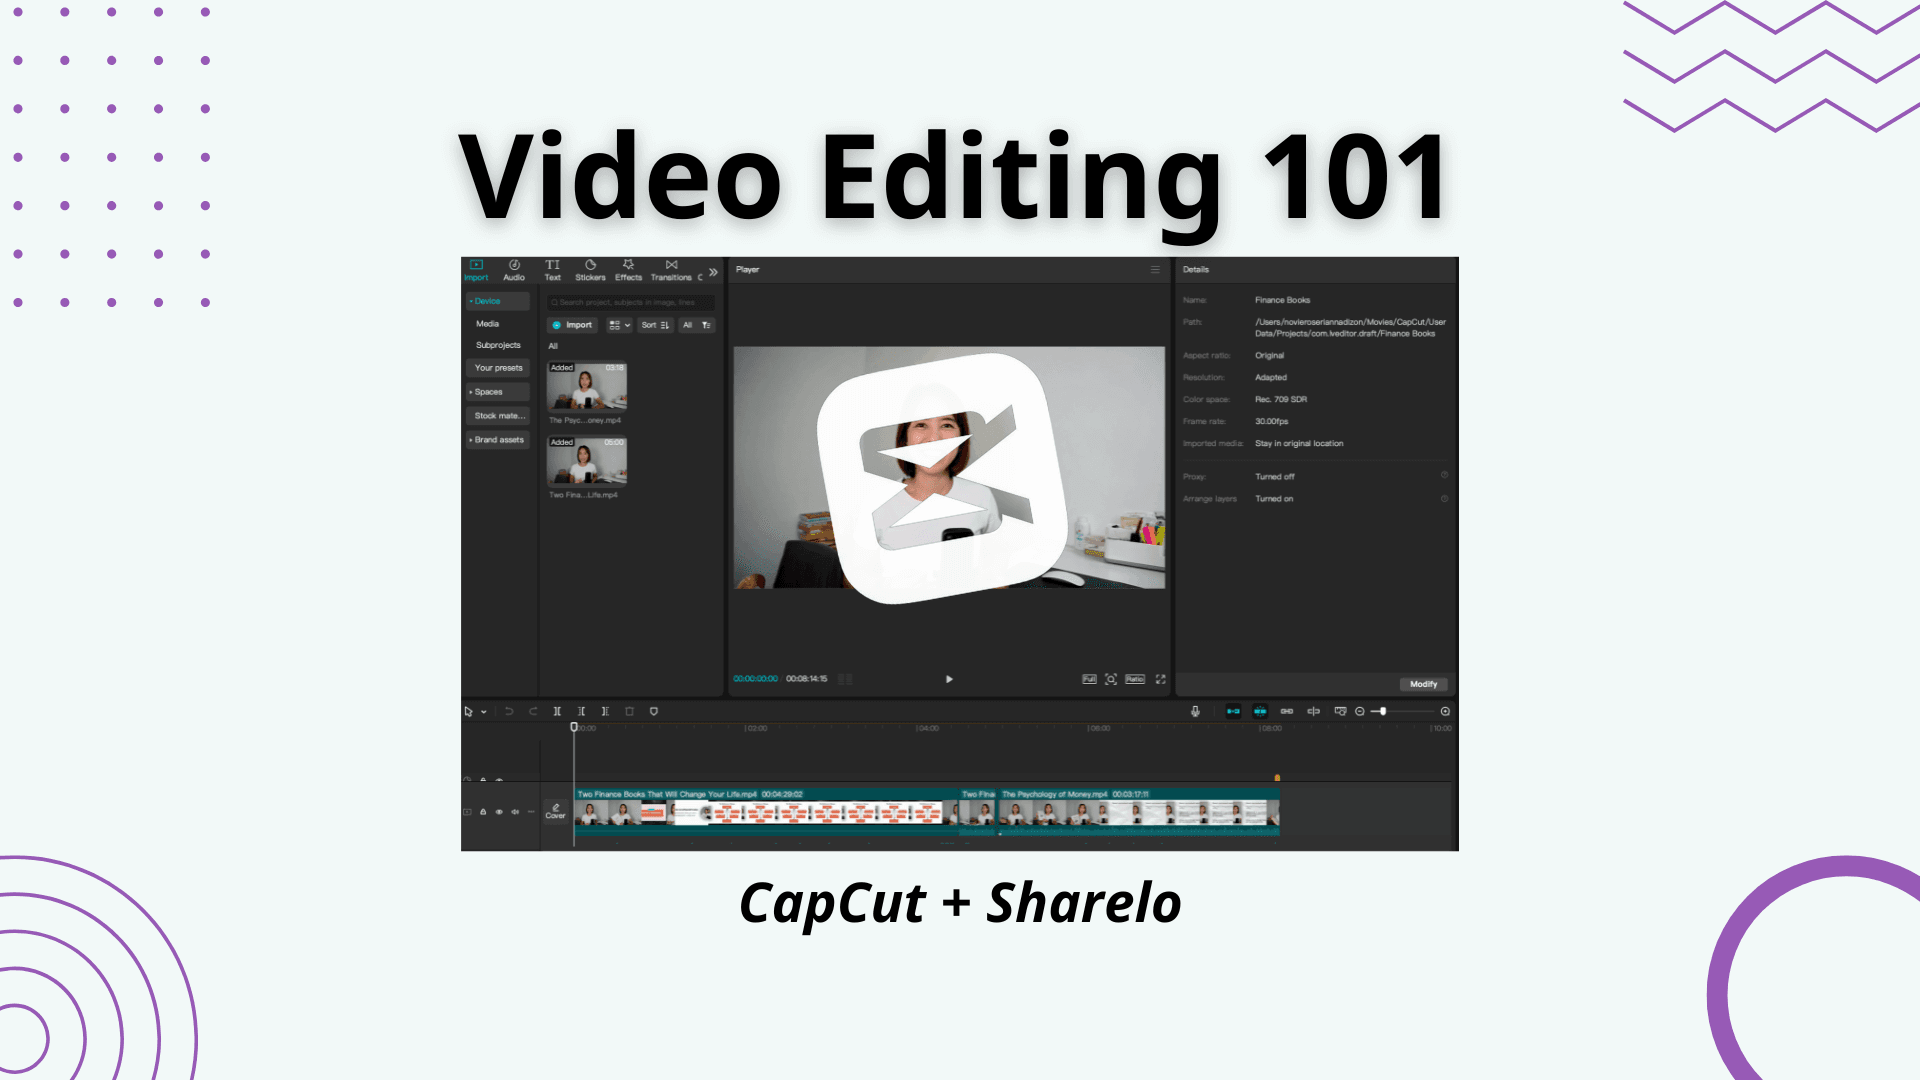
What Is CapCut?
CapCut is a free video editing app developed by ByteDance, the same company behind TikTok. It’s a versatile editing tool that offers a wide range of features, including basic editing functions, special effects, transitions, text, and more. Whether you're editing for social media, YouTube, or personal projects, CapCut provides an easy-to-use platform for users of all skill levels.
Why Use CapCut?
- User-friendly Interface: CapCut's drag-and-drop functionality makes it easy for beginners to start editing without a steep learning curve.
- Free Features: Unlike other video editing apps, CapCut offers its full set of features for free, making it a great option for creators on a budget.
- Versatility: Whether you're creating short-form content for TikTok, longer videos for YouTube, or promotional clips for Instagram, CapCut offers the flexibility to meet your needs.
Now, let’s dive into the essential techniques that will help you master CapCut and take your video editing to the next level.
1. Importing and Organizing Your Clips
The first step in creating a great video is importing your footage. CapCut allows you to easily upload videos, images, and audio files from your device.
How to Import Clips:
- Open the CapCut app and create a new project.
- Tap on the "Add" button to select the media you want to import from your phone gallery.
- Once your media is added, you can organize your clips on the timeline for easy editing.
Organizing your clips effectively on the timeline will ensure that you stay efficient during the editing process. CapCut allows you to zoom in and out of the timeline to help you work with both long and short clips.
2. Trimming and Cutting Clips
One of the most basic yet essential editing skills is trimming and cutting clips. Whether you're removing unnecessary footage or tightening up a scene, CapCut makes it easy to trim clips to the perfect length.
How to Trim a Clip:
- Tap on the clip in the timeline to select it.
- Drag the ends of the clip to shorten or lengthen it.
- For more precise cuts, use the split tool by dragging the playhead to the desired cut point, then tap on the split button.
How to Cut a Clip:
- Position the playhead where you want to make the cut.
- Tap the "Split" button on the bottom menu to divide the clip into two separate parts.
- Delete the unwanted section by selecting it and tapping the trash icon.
Trimming and cutting are fundamental skills that will allow you to eliminate bloopers, remove unnecessary parts of your video, and create smoother transitions between scenes.
3. Adding Transitions
Transitions add flair to your videos and help make the flow between scenes feel more seamless. CapCut offers a variety of transition effects to enhance your video’s visual appeal.
How to Add a Transition:
- Tap on the space between two clips on your timeline.
- A transition menu will appear, offering various transition effects like fade, zoom, wipe, and more.
- Select the transition you like, and it will automatically be applied between the two clips.
Using transitions sparingly will keep your video smooth without overwhelming the viewer. Keep it subtle unless you're aiming for a more creative, dynamic feel.
4. Using Effects and Filters
CapCut provides a wide range of effects and filters to enhance the look of your video. You can use these tools to add dramatic flair, set the mood, or simply make your video more visually appealing.
How to Add Effects:
- Tap on the clip you want to edit.
- Tap on the "Effects" option in the bottom menu.
- Choose from categories like "Basic," "FX," "Retro," or "Bling" to find the effect that fits your style.
- Adjust the intensity and duration of the effect as needed.
How to Add Filters:
- Tap on the clip you want to apply a filter to.
- Tap on "Filter" in the bottom menu.
- Browse through different filter styles such as "Natural," "Film," or "Lomo."
- Apply the filter and adjust its strength to suit your video’s aesthetic.
Effects and filters can transform your video, but remember to avoid overuse. Too many effects can distract the viewer, so choose the ones that best fit the story you're telling.
5. Incorporating Text and Captions
Text is an essential part of any video, whether it's to add context, introduce a topic, or promote something. CapCut makes it easy to add and customize text to your videos.
How to Add Text:
- Tap on the “Text” option from the bottom menu.
- Select "Add Text" and type your desired message.
- Customize the text by adjusting the font, size, and color. You can even add shadows or outlines for a more polished look.
How to Add Subtitles:
- Tap on the "Auto Subtitle" button to generate automatic subtitles.
- Review and adjust any discrepancies in the subtitles.
- You can also manually adjust the timing of each subtitle to sync it perfectly with the audio.
Adding text and captions will make your content more accessible, and it also helps emphasize key points or messages in your video.
6. Adding Music and Sound Effects
Music and sound effects are crucial for setting the tone of your video and keeping the viewer engaged. CapCut has an extensive library of music and sound effects that you can use, or you can upload your own.
How to Add Music:
- Tap on the “Audio” option from the bottom menu.
- Select “Sounds” to browse through CapCut’s music library or tap "My Music" to upload your own tracks.
- Drag and drop the audio clip to the timeline.
How to Add Sound Effects:
- Tap on the “Sound Effects” option in the audio menu.
- Choose from a variety of effects like applause, laughing, or swooshes.
- Drag the sound effect onto your timeline and adjust the volume as needed.
Adding music and sound effects not only enhances the mood but also helps maintain the pacing of your video.
7. Exporting and Sharing Your Video
Once you're satisfied with your video, it's time to export and share it with the world. CapCut makes it easy to export your video in high quality, ready for social media or any platform of your choice.
How to Export Your Video:
- Tap on the “Export” button in the top right corner of the screen.
- Choose the resolution and frame rate for your video. For high-quality social media content, select 1080p at 30fps.
- Tap “Export” and wait for the app to process your video.
- Once your video is exported, you can share it directly to TikTok, Instagram, or other platforms, or save it to your device.
Mastering CapCut is an essential step in becoming a proficient video editor, whether you're creating videos for social media, YouTube, or personal projects. By understanding the app’s basic features—like trimming, adding transitions, incorporating text, and using sound effects—you can produce high-quality videos that capture attention and engage your audience.
As a beginner, focus on mastering these essential editing techniques, and as you grow more comfortable with the app, explore its advanced features to take your videos to the next level. With practice and creativity, CapCut can become an invaluable tool in your content creation journey.
So, are you ready to start editing like a pro? Open CapCut, and let your creativity flow!
Sharelo: Make Your Video Interactive After Editing with CapCut
Once you’ve perfected your video using CapCut, the next step is to take it to the next level by adding interactive features with Sharelo. This powerful platform allows you to create engaging, interactive videos that captivate your audience and boost engagement.
Here’s how you can make your CapCut-edited video interactive with Sharelo:
- Upload Your CapCut-Edited Video
After editing your video in CapCut, save the final version and upload it to Sharelo. The platform supports a variety of video formats, ensuring a smooth transition from CapCut to Sharelo. - Add Interactive Elements
Sharelo offers several tools to make your video interactive. You can easily integrate clickable links, quizzes, text and video replies, and video branching options. This allows your viewers to engage actively with your content, making it more immersive and engaging. - Embed Call-to-Actions (CTAs)
Encourage your audience to take action by adding Call-to-Action buttons directly into your video. Whether you want them to sign up for a newsletter, visit a product page, or book a meeting with you, Sharelo lets you seamlessly embed - Track Viewer Engagement
Sharelo provides detailed analytics, allowing you to track how viewers interact with your video. By monitoring engagement, you can gain insights into what works best and adjust your strategy to increase viewer interaction.
By combining the creative editing capabilities of CapCut with the interactivity of Sharelo, you can create dynamic, attention-grabbing videos that not only entertain but also drive conversions, increase engagement, and provide valuable insights into your audience’s behavior. This powerful duo is a game-changer for content creators, marketers, and educators looking to boost their video content’s impact.
Conclusion: Supercharge Your Video Content with CapCut and Sharelo